Before installing: confirm the platform and keep a baseline
Use the official download page and the edition for your system. The paid editions list macOS 12+ and Windows 10/11. The free Linux beta has a separate setup and recorded recovery defects; do not follow the desktop walkthrough for it. Some affected M5 Pro/Max setups remain unresolved. There is no free Mac/Windows trial; read the 30-day refund policy before purchasing.
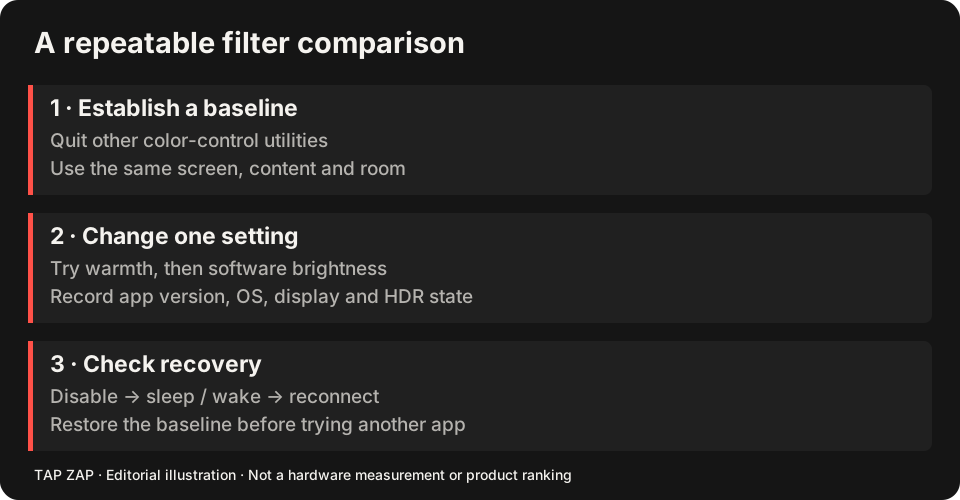
Before changing display controls, note hardware brightness, active color profile, HDR and any existing Night Shift/Night light or other filter. Turn other filters off for the first comparison. Start in a comfortable room with a readable hardware setting; 100% is not a universal flicker-free requirement.
Mac: install the DMG and find the menu-bar panel
Download the Mac DMG from the official page and open it. Move Tap Zap into Applications, then open that copy. Look for the bolt at the top-right of the menu bar; the app is controlled there rather than through a permanent Dock window. Click the bolt to open the panel.
If macOS blocks opening or the icon is missing, use the current installation help instead of an old workaround from a forum. Record the exact error and macOS build if the documented steps fail. Do not assume the presence of the icon means an affected M5 display has responded.
Windows: install and open the tray panel
Download the Windows installer from the official page and run it. The current download page identifies the installer as unsigned, so SmartScreen may show a warning. Select More info → Run anyway only if this is the file you intentionally downloaded from tapzap.app and you want to continue. Finish setup and open Tap Zap.
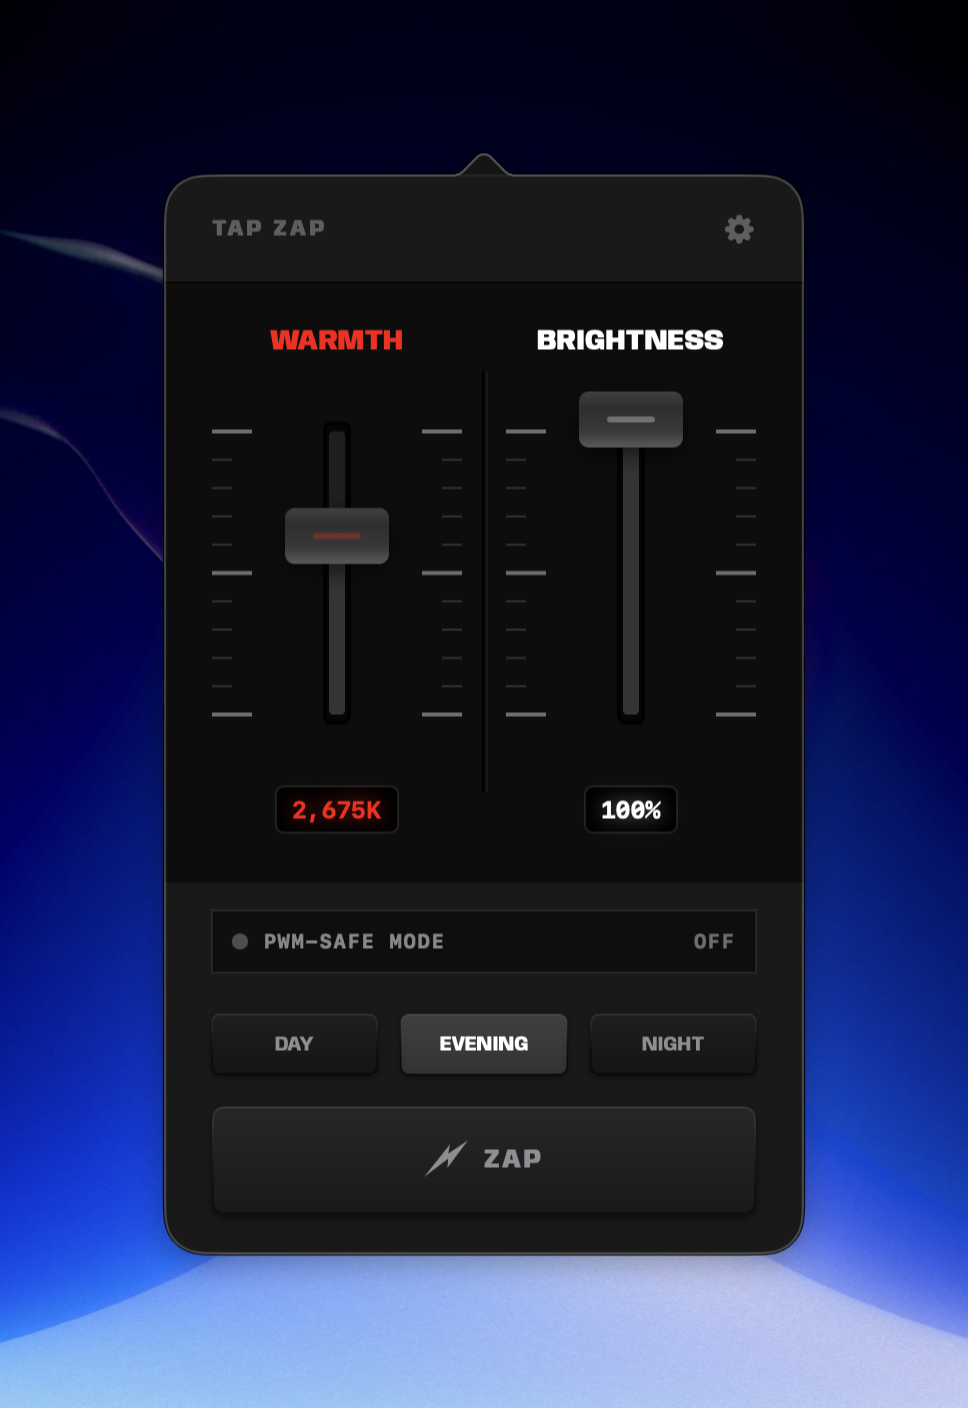
Find the bolt in the system tray, including the hidden-icons area if necessary. Click it to open the panel. Installation success and a responsive tray icon are software checks; warmth and brightness still need to be checked on your actual displays.
Activate using your purchase key
Find the license key in the DodoPayments purchase email or the post-purchase download page. Paste it into Tap Zap’s license field and select Activate. Wait for activation to complete and the filter controls to unlock. If it fails, check whitespace, connectivity and the exact error in the license help. Never post a license key in a public report.
A license covers three devices. Deactivate a seat in the license panel before retiring an accessible old device; uninstalling alone does not free the seat. Activation does not establish hardware compatibility, so complete the visible checks below.
Make the first change one control at a time
Open a familiar light document and choose EVENING. Move WARMTH modestly and compare text and colored annotations. Then move BRIGHTNESS while leaving hardware brightness unchanged. The slider darkens the image through software; it is separate from a laptop key or monitor backlight control.
Try DAY, EVENING and NIGHT to understand the preset range. Strong red-oriented output can make color coding hard to distinguish. The displayed preset names are interface choices, not measurements of emitted spectrum; a label such as 0K is not a physical color-temperature measurement. Toggle the red ZAP button off to compare ordinary appearance. DAY is still a warm preset.
Verify restoration before adding automation
Test ZAP off and normal Quit from the app menu. Confirm your ordinary appearance returns on every connected screen. Reopen the app, repeat a modest setting and check sleep/wake. If you use a dock, test its normal reconnect after the basic checks pass. The multi-monitor guide gives a record format.
Auto Schedule uses selected daily preset start times in maintained Mac/Windows source, with a 60-second warmth transition. Brightness is a separate target. Test a nearby start while awake, then a manual warmth override and the next start. Enabling between starts can hold the present warmth until the next selected start; verify the status in your installed version.
For rotating hours, use the schedule walkthrough. If restoration or visible filtering fails, stop and return to the known baseline. Report OS/app version, display model, connection, HDR/profile and the steps that fail through help.
Decide whether this workflow earns its place
Compare the Mac choices or Windows choices if an included/free control already meets the task. Tap Zap’s $39 USD one-time package covers three devices and lifetime updates, with no free desktop trial and a 30-day refund policy. The software-dimming reference explains tonal and optical limits; there is no universal flicker-free or medical outcome established by installing the app.
About this guide
Written by Tap Zap. We make the software discussed here. Updated 10 October 2026 to distinguish product behavior from display-specific measurements and health outcomes. The linked documentation and studies explain the scope of these claims. Read our editorial policy, evidence limits and corrections process.
Compare screen controls · All guides · Downloads and compatibility